
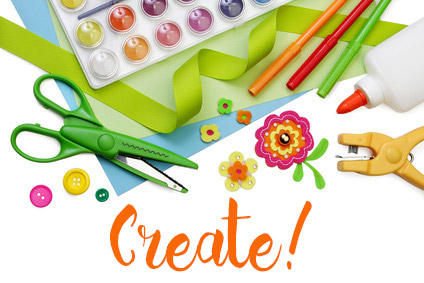
 Looking for some fun indoor activities for your little ones? Do your children or grandchildren love to make and give homemade gifts? Looking beyond the macaroni necklaces and construction paper bracelets, there are several homemade gifts your kids can make that are actually practical and useful. Whether you’re looking for a gift for your child to make for a birthday, Mother’s Day, Father’s Day, or another holiday, or just letting them express their creative side through crafting, here are a few ideas to get your kids interested, and have fun:
Looking beyond the macaroni necklaces and construction paper bracelets, there are several homemade gifts your kids can make that are actually practical and useful. Whether you’re looking for a gift for your child to make for a birthday, Mother’s Day, Father’s Day, or another holiday, or just letting them express their creative side through crafting, here are a few ideas to get your kids interested, and have fun:
- Upcycle greeting cards. Take your child’s favorite greeting cards and turn them into “rustic” art work. Start with an old picture frame (the more beat up, the better). Gather twigs from the back yard, or go on a nature walk and collect them. Make sure the twigs are dry enough to break into smaller pieces, if necessary. Break twigs into enough pieces to completely cover the frame. Secure the twigs to the frame using a hot glue gun (you’ll have to do this part). Hold twig pieces in place until the glue hardens. Place the greeting card inside the frame and replace the backing. This can be a great gift for Dad, a favorite Uncle, or Grandpa.
- Start an indoor garden. Soup cans or coffee cans are a great way to start a container garden and use up some favorite stickers at the same time. Use craft paint to give a solid background, or cover can in solid color construction paper or wallpaper scraps. Decorate with stickers using a theme, or spell out a message or name. Gather up pebbles from outside, or use a hammer to break up an old flowerpot or chipped dish to use for drainage, and place a layer in the bottom of the can. Add a little potting soil and a seedling, and you have the makings of a container garden.
- Make a “funny face” flip book. Using large 4×6 or 5×8 blank index cards, punch a hole-in-one end with a hole punch. Cut out three pieces of cardboard the same size as your index cards, and punch a hole in one end of each piece of cardboard. Attach index cards to your cardboard backing with metal book rings. Use markers or crayons to draw facial features on cards. In the top third section draw eyes, in the middle section draw noses and in the bottom section draw mouths. Get extra creative by adding details like eyelashes, eyebrows, teeth, tongues, braces, mustaches, earrings, hats, and so on. If you have extra stickers on hand, use them along with googly eyes for extra silly faces.
- Milk carton bird feeder. With the leftover twigs from your rustic picture frame project, and a washed, half gallon milk carton, make a cute bird feeder for your winged back yard springtime visitors to enjoy. Simply cut an arched opening in the front with a utility knife (parents will need to do this part). Make sure the opening is large enough for birds to enter the inside. Paint the outside of the carton with craft paint (may take several coats to completely cover design on carton). Once the paint is dry, have your child decorate the carton with stickers of their choice. Using craft glue, attach twigs to the “roof” of your birdhouse. If you have dry moss available, you can add that to your roof as well. Add some bird food to the inside of the birdhouse, and using a hole punch make a hole to insert a thicker stick for the birds to use as a perch, just below the bottom of your arched opening (about an inch below).


