
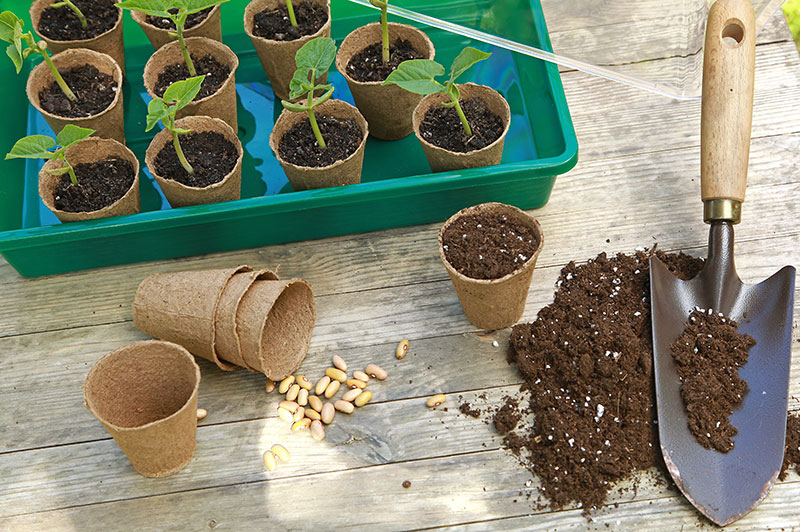
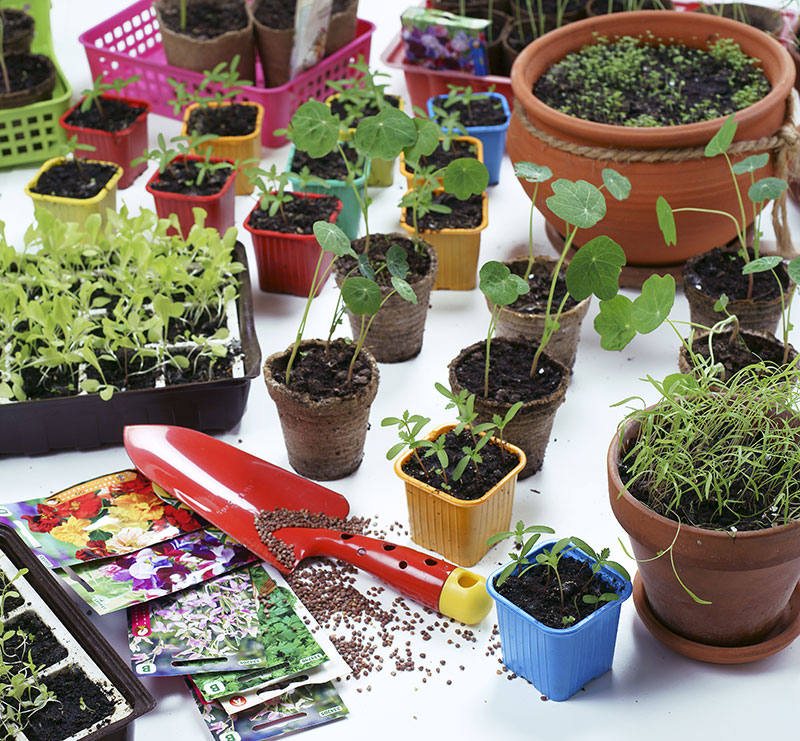
 Spring may not have sprung in your neighborhood yet, but that doesn’t mean you can’t start your garden. You can start seeds indoors now and have them ready to transplant outdoors by the time spring is in full swing. Starting your garden indoors using seeds is much more cost effective than buying plants, as seeds cost much less than seedlings. Planting your garden from seeds also lets you choose more varieties of plants and extend your growing season. With some small flower pots or flats (make sure they have drainage holes), seed starting soil, water, a light source, a warm location, some plastic sheeting, and of course, the seeds of your choice.
 Steps to start your garden indoors:
- Thoroughly wash your pots or flats with warm, soapy water, rinse and drain them dry
- To kill any leftover bacteria or fungi in previously used pots, soak them in a 1-to-10 bleach and water solution for 30 minutes, rinse and drain.
- Purchase seed starting soil from a local nursery or mix your own using equal parts of garden soil, vermiculite, and peat or compost.
- Add enough water to your soil mixture to moisten it lightly (don’t make it soggy; waterlogged soil can cause root rot!)
- Plant your seeds according to the directions on the individual seed packets and cover them lightly with soil. You might want to put more than one seed per pot to increase the odds that your seeds will germinate. Don’t plant your seeds too deep.
- Label your pots (you will forget what is where if you don’t!) and water sparingly.
- Cover the pots or flats with a plastic sheet, plastic bag, or a clear plastic cover. This creates a greenhouse effect that helps the soil stay moist.
- Set the pots or flats in a warm location. The top of a water heater or refrigerator works fine if there is no direct sun to provide warmth.
- Check the moisture level of your soil daily, and water only when needed.
- Remove plastic covering when seeds have sprouted
- After germination, place your pots in a shallow tray and add water to the tray. Set the pots in the water to allow the plants to absorb the water from the bottom up. This not only prevents overwatering, but also prevents a fungus that can kill seedlings.
- Place the germinated seeds in or near a sunny window. To encourage straight stems, place seeds directly underneath a light source such as a fluorescent or grow light.
- When your plants have several leaves and the weather has warmed up, start setting your pots or flats outside for increasing amounts of time daily, starting with two hours.
- Once your seedlings have adjusted to being outside all day and are doing well, it’s time to transplant them into your garden and watch them grow.
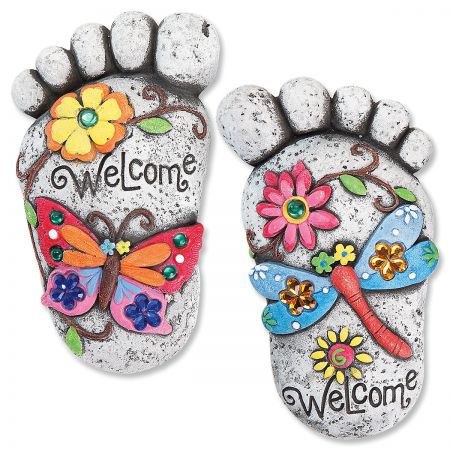 This entire process should take 4 to 6 weeks, so you’ll want to start your seeds 4 to 6 weeks before the final frost date for your area, which you can find at www.farmersalmanac.com. This gives you a six week jump on your garden and saves you a lot of time and money. Seedlings can cost $3 to $6 per plant or more, whereas seeds can be bought for pennies per package. Be sure to use an indoor potting mix or make your own mixture; do not try to just use dirt from your outdoor garden as it will be too heavy for seeds. A good quality seed starting soil will have the nutrients your young plants need to grow strong and healthy. Get your kids involved too! Let them choose some garden decorations such as garden flags, footprint stones, or ceramic frogs to add some personality to your outdoor décor this year. Current even offers a variety of easy-start seed mats and hanging gardens to make the process less intimidating. Growing something from a seed is a great way to teach your children about nature and how it works, as well as providing them with the sense of satisfaction available from watching something grow as you nurture and care for it.


