
Christmas is right around the corner once again, and we know there are some of you who need to brush up on your gift wrapping skills. That’s why we’ve put together a little wrapping tutorial for you, to get you in the spirit and either teach you how to wrap those pesky presents or hone your skills for gift wrapping time.
If wrapping paper makes you nervous and the thought of wrapping presents intimidates you, don’t worry. You are not alone! Thousands of gift givers all over the world get nervous about wrapping presents, especially around the holidays. We want to alleviate some of that stress by breaking down the sometimes confusing process it takes to wrap a gift. We’ve even linked a step by step video to this tutorial to show you how it’s done. Feel free to pause and rewind the video as many times as necessary!
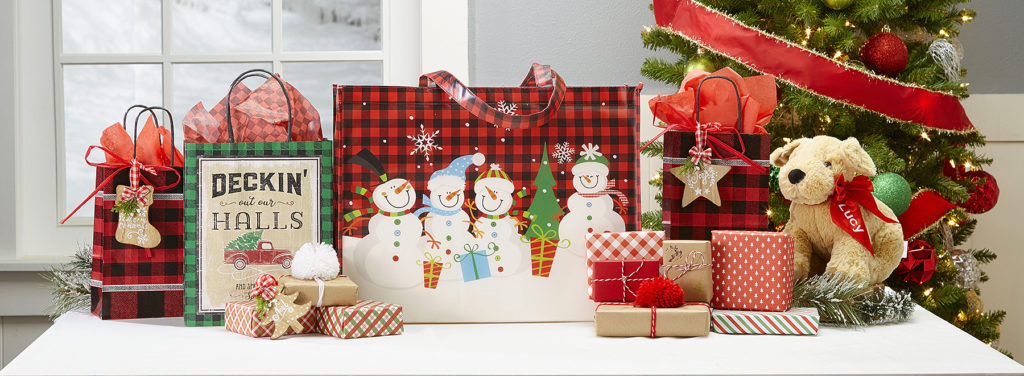
As with any job, the proper tools are needed to do the job of wrapping a gift properly. Here’s a list of essentials you’ll need to gather before you begin:
- Gift boxes
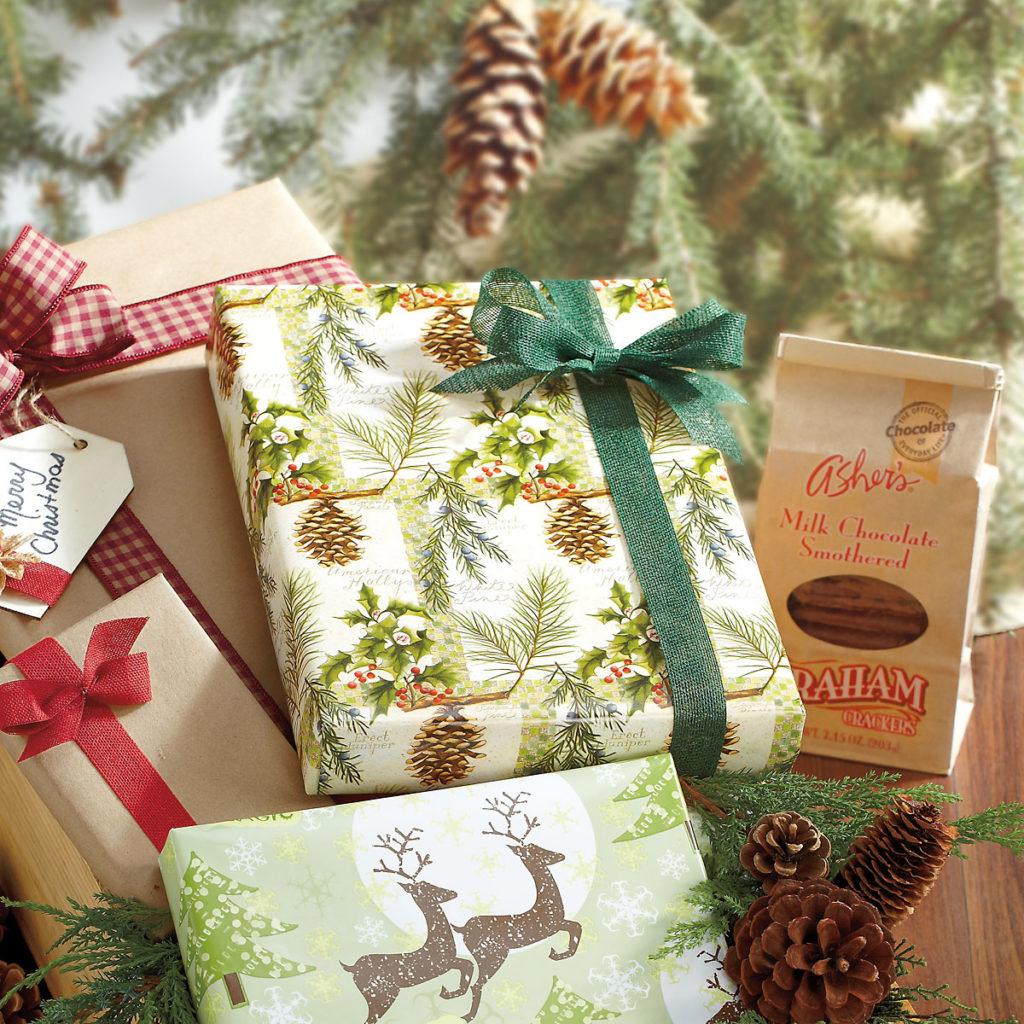
- Wrapping paper
- Colored tissue paper
- Gift bags
- Scissors
- Tape
- Ruler
- Gift tags
- Stickers and/ or seals
- Package toppers
- Bows
- Ribbon
- Raffia or jute
- Seasonal elements (pinecones, dried twigs, berries, leaves)
- Christmas tote (to carry it all in!)
- Wrapping paper storage
Start by clearing a solid, flat area like a dining room table to wrap your presents on. You might want to put down some sort of protective cover to prevent scratching the tabletop with scissors as you cut your paper. Some papers have a grid printed on the reverse side of the pattern, which makes it a little easier to measure and cut a (fairly) straight line. Don’t worry about perfection when you cut, however. You will be folding the edges over to make a crisp line, so your cut doesn’t have to be precise.
Here’s a foolproof, step by step list of instructions that will make you wonder what you were ever so nervous about.
- Place the object you wish to wrap on the paper, and measure for enough paper to cover the entire box with about an inch or so of overlap (for when you fold those crisp, clean lines).
- Turn your gift box upside down and tape the paper down on the bottom of the box.
- Flip the box over. If the paper is too long, trim off the excess, leaving enough to reach about three quarters of the way up the side of the box.
- Tape the other end of the paper to the bottom of the box, slightly overlapping the first edge.
- Fold the top of the paper down and crease the sides. Fold the sides in toward one another and bring the bottom piece of the paper up toward you, securing it with tape.
- Repeat step 5 for the other side of the box.
- Turn the box over, attach a ribbon, bow, or gift topper and a gift tag. Voila! It’s just that easy!
Here’s a bonus tip: try using double sided tape and placing it on the inside of your folds, so that no tape is seen on the outside of the package. This gives your presents a very put together, professionally wrapped look.


